Amigurumi Bunny
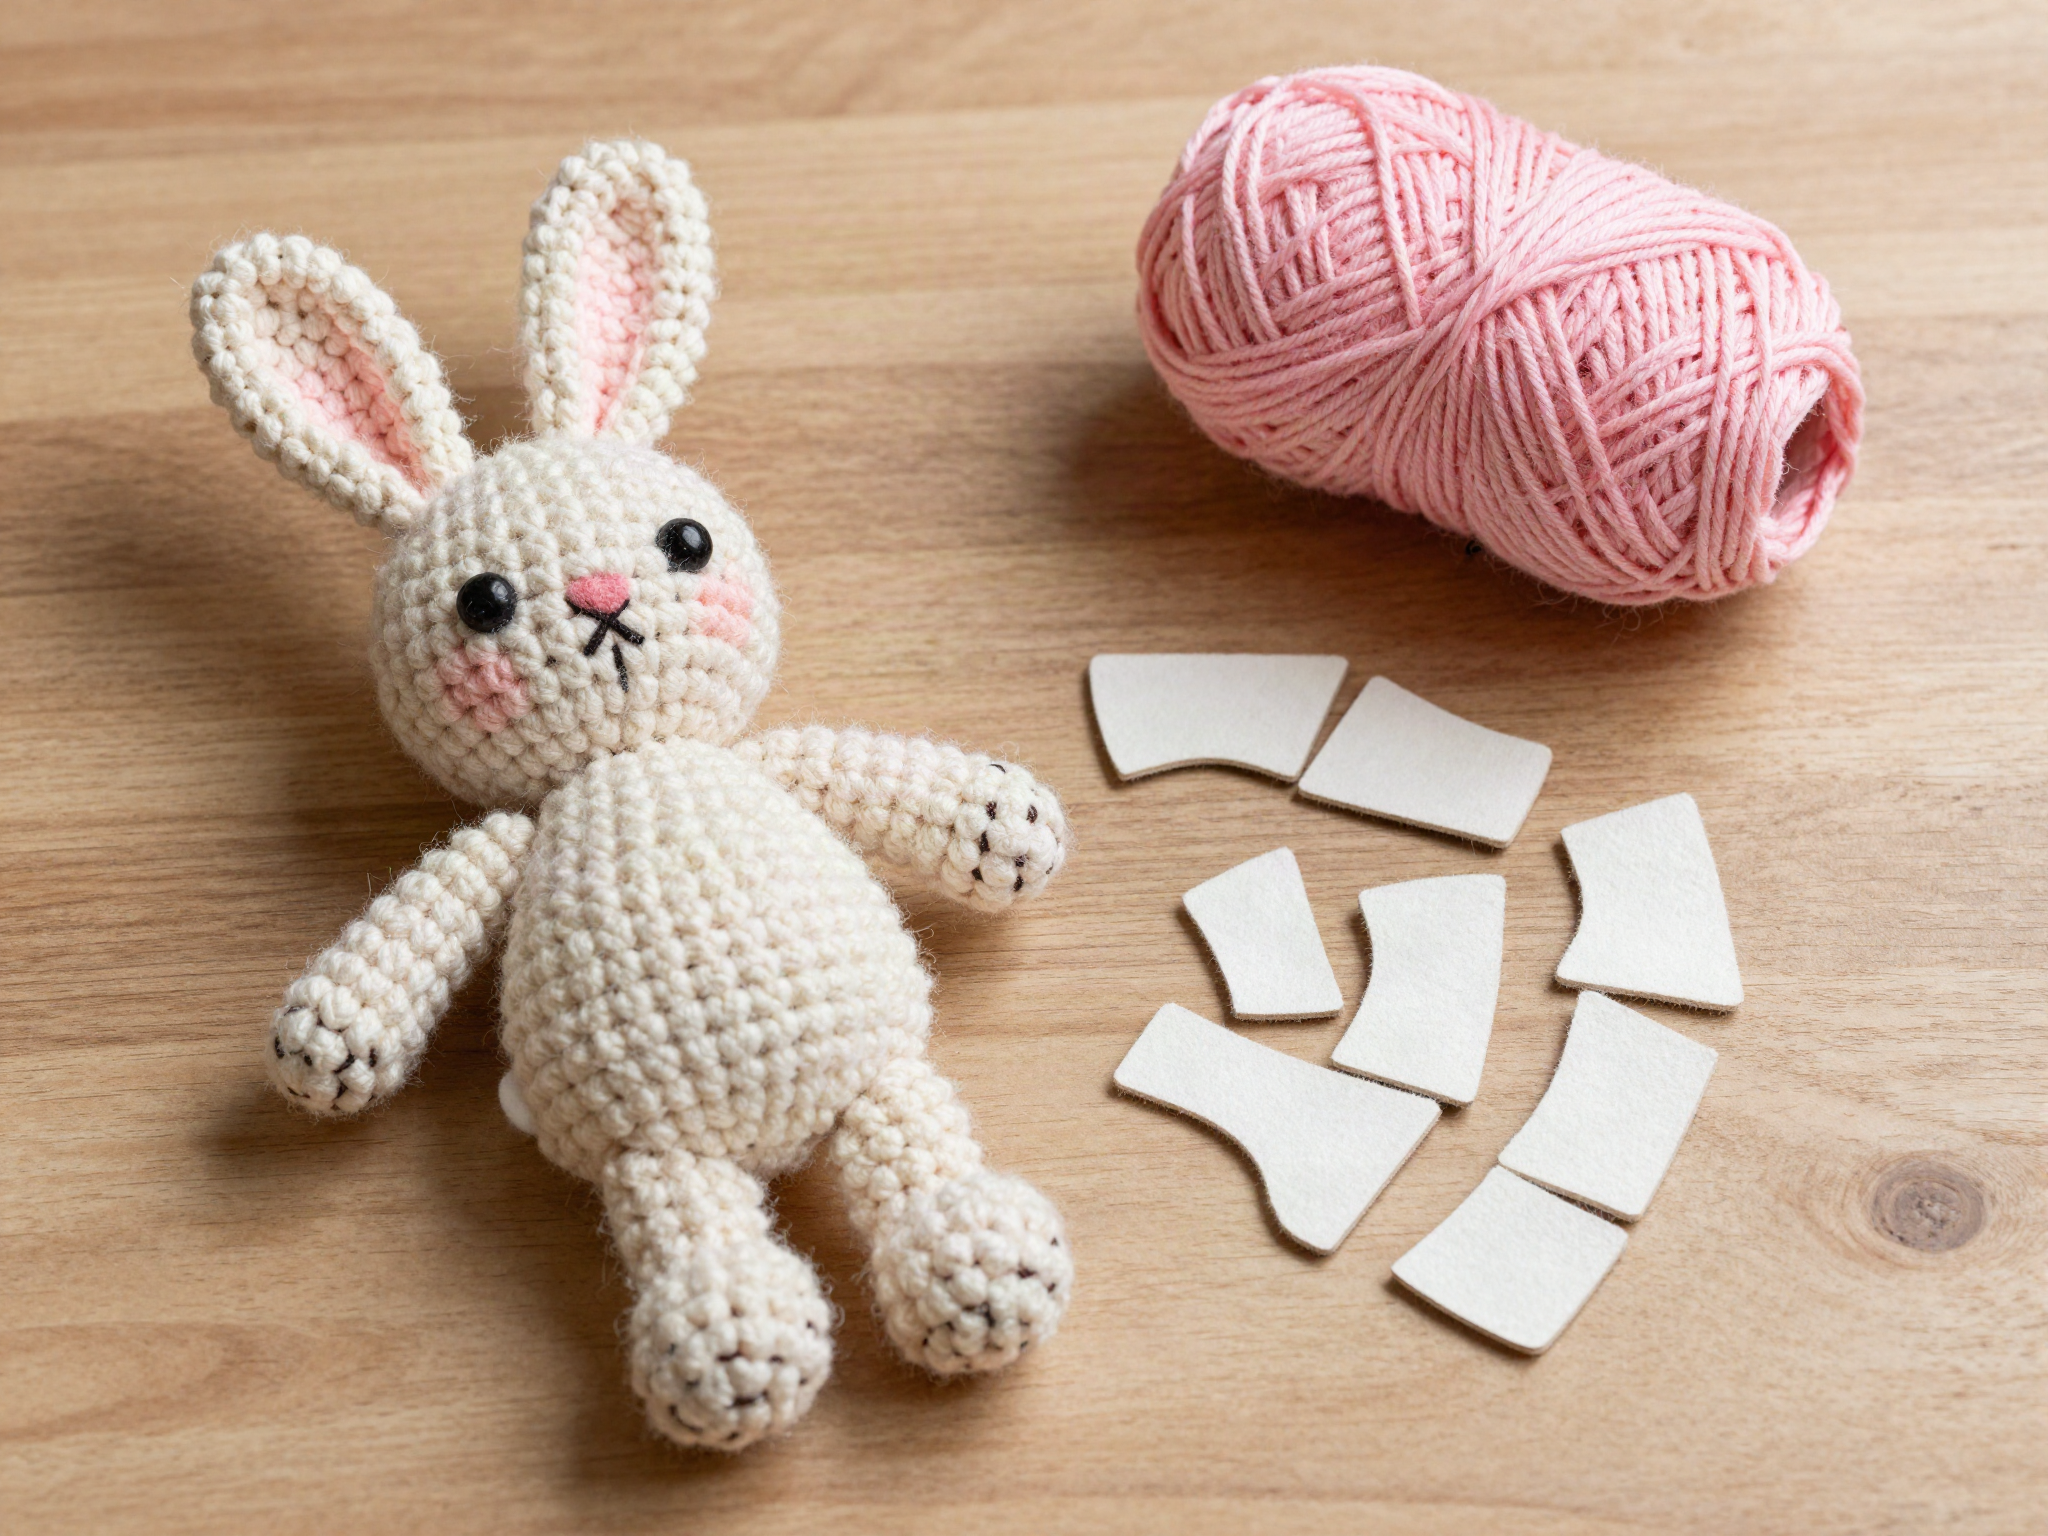
A classic first amigurumi project — the whole bunny is built from simple spheres and cylinders, then assembled and given a face with safety eyes and embroidery.
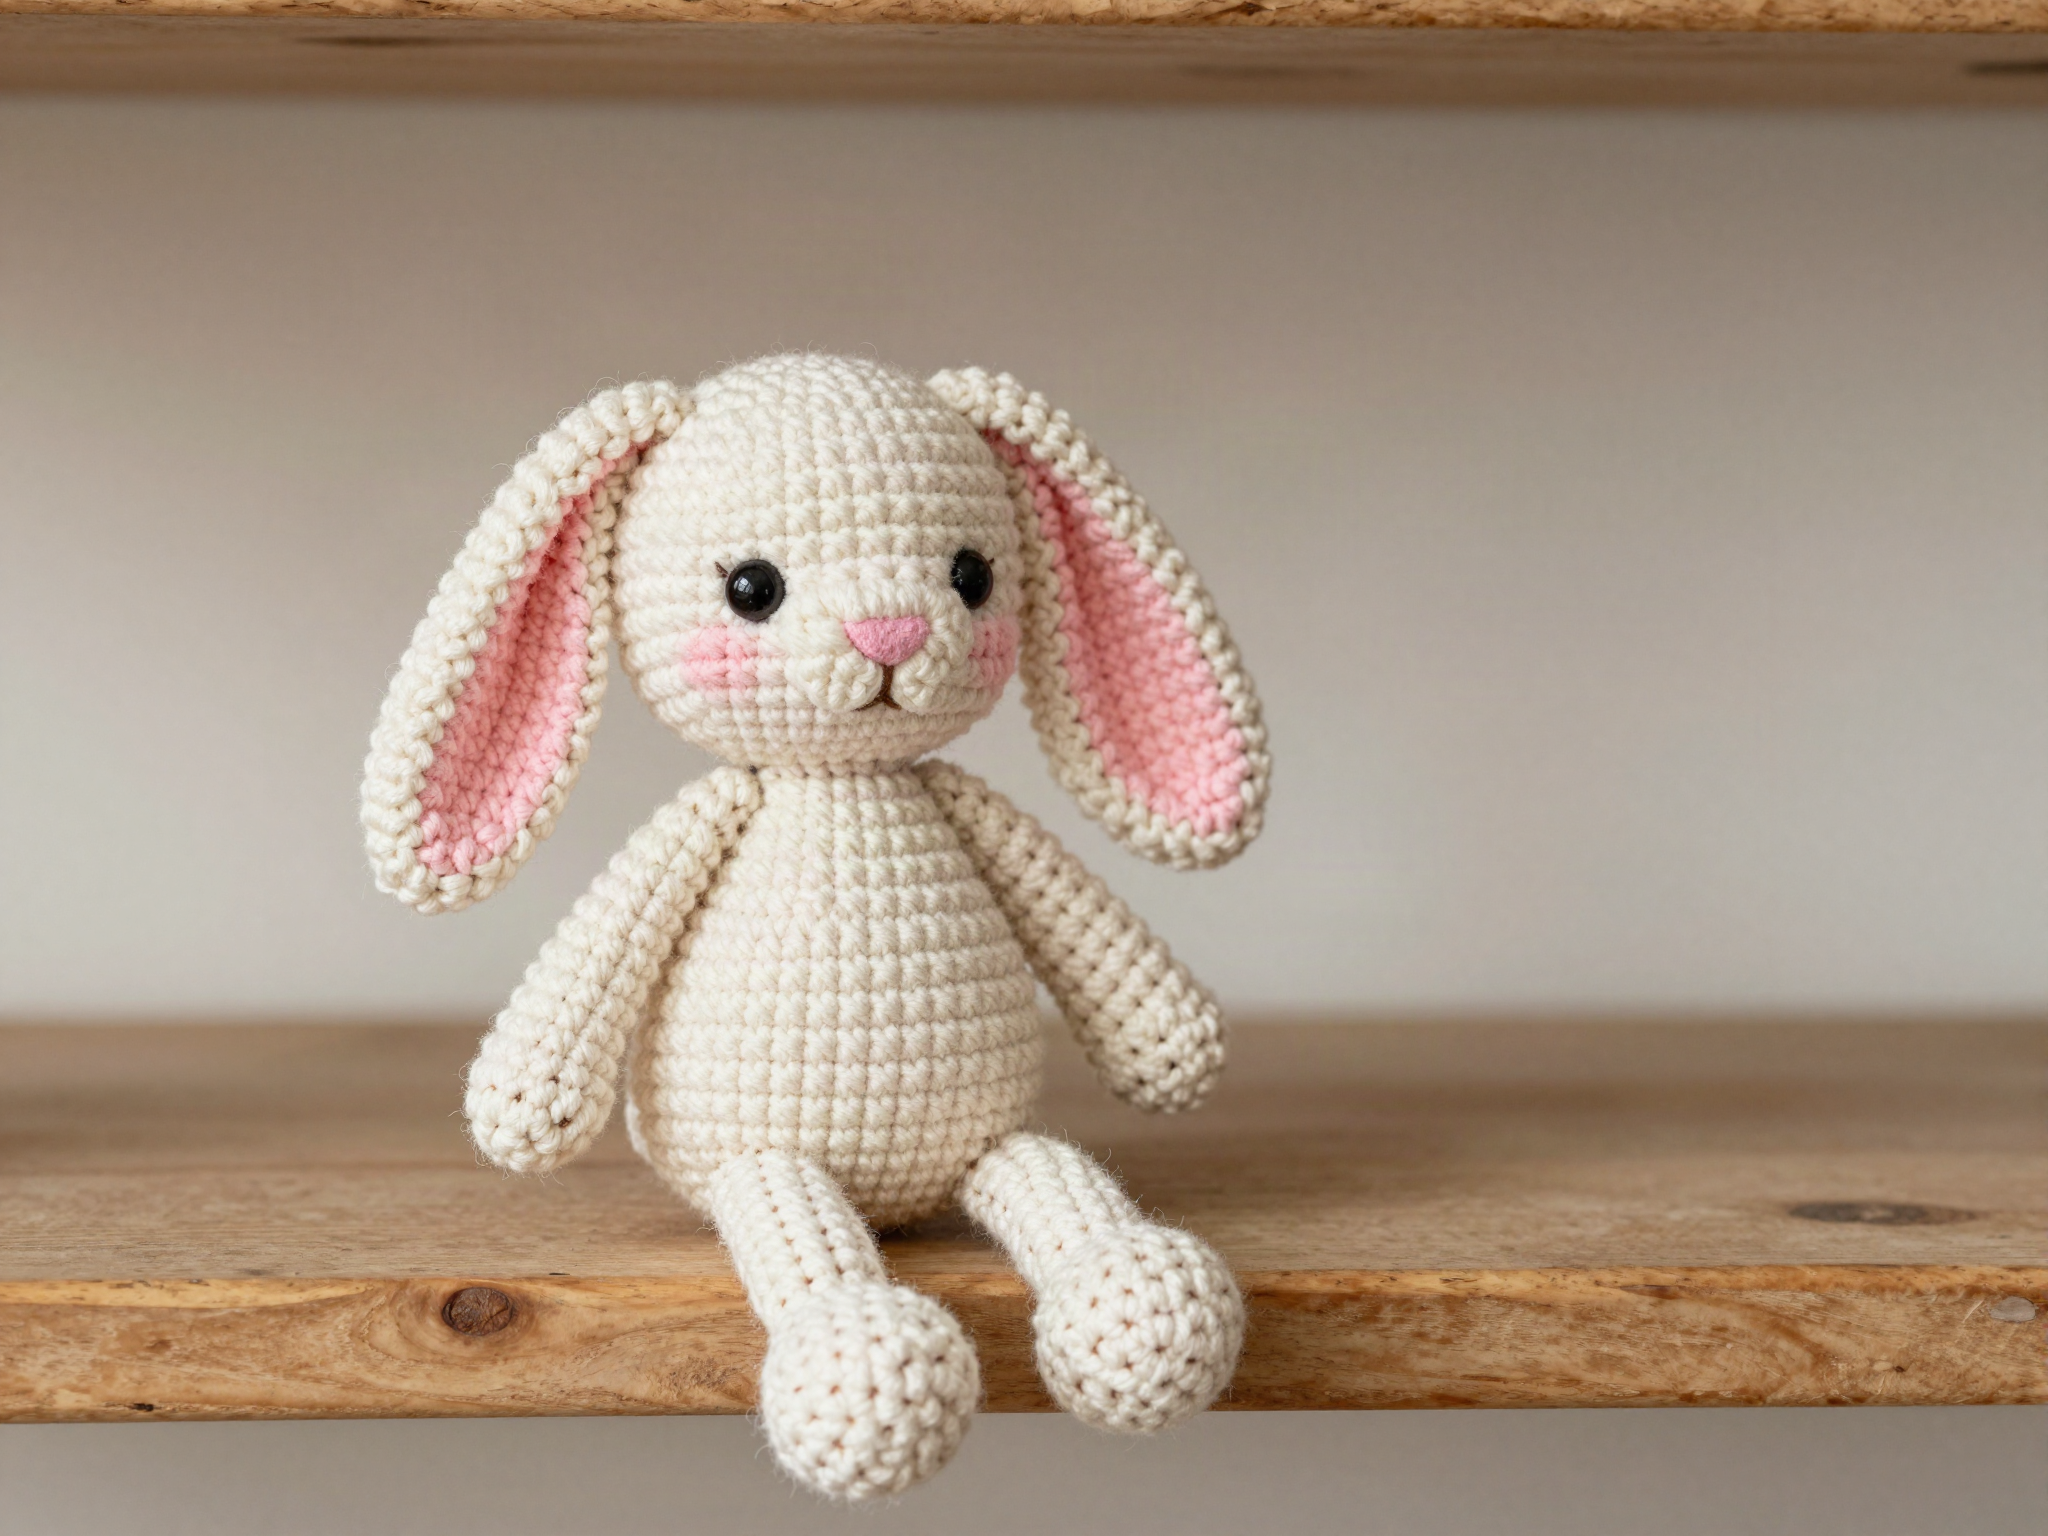
Materials & Yarn
- 150 yds worsted weight yarn (body)
- Small amount contrasting yarn (inner ears, cheeks)
- 3mm crochet hook (smaller than yarn label suggests, for tight stitches)
- Polyester fiberfill
- Safety eyes, 9mm (or embroider for under-3s)
- Yarn needle, stitch markers
Step-by-Step Instructions
- 1
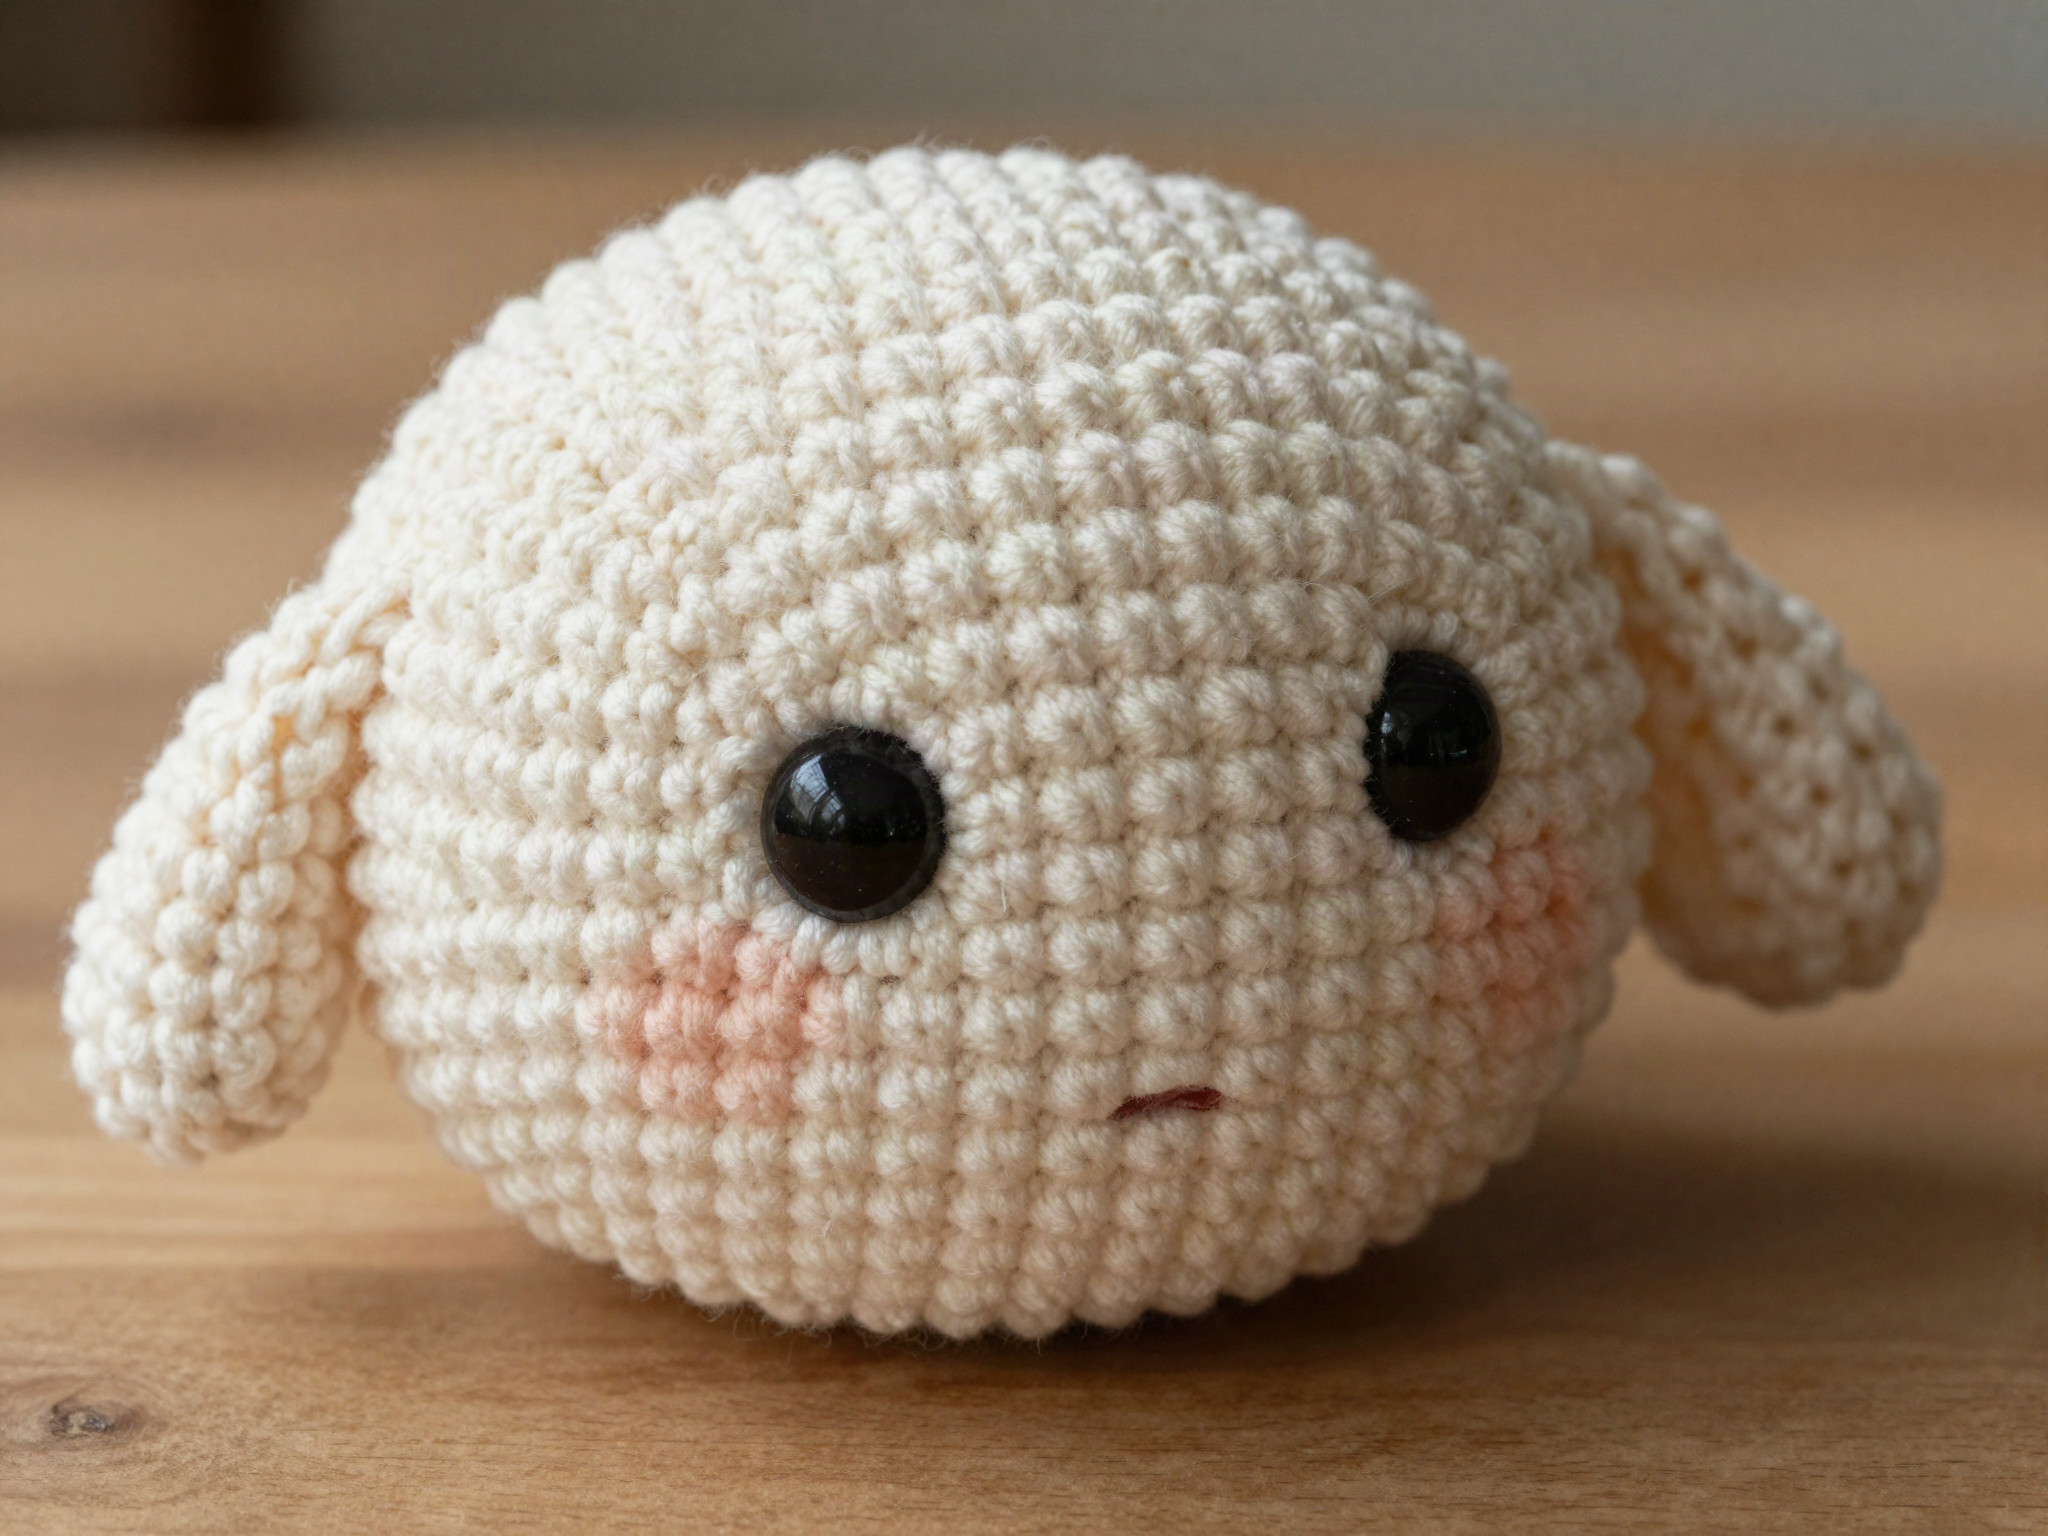
Crochet the head
Work the head as a sphere: increase rounds to the widest point, work several rounds even, then decrease and stuff before closing.
- 2
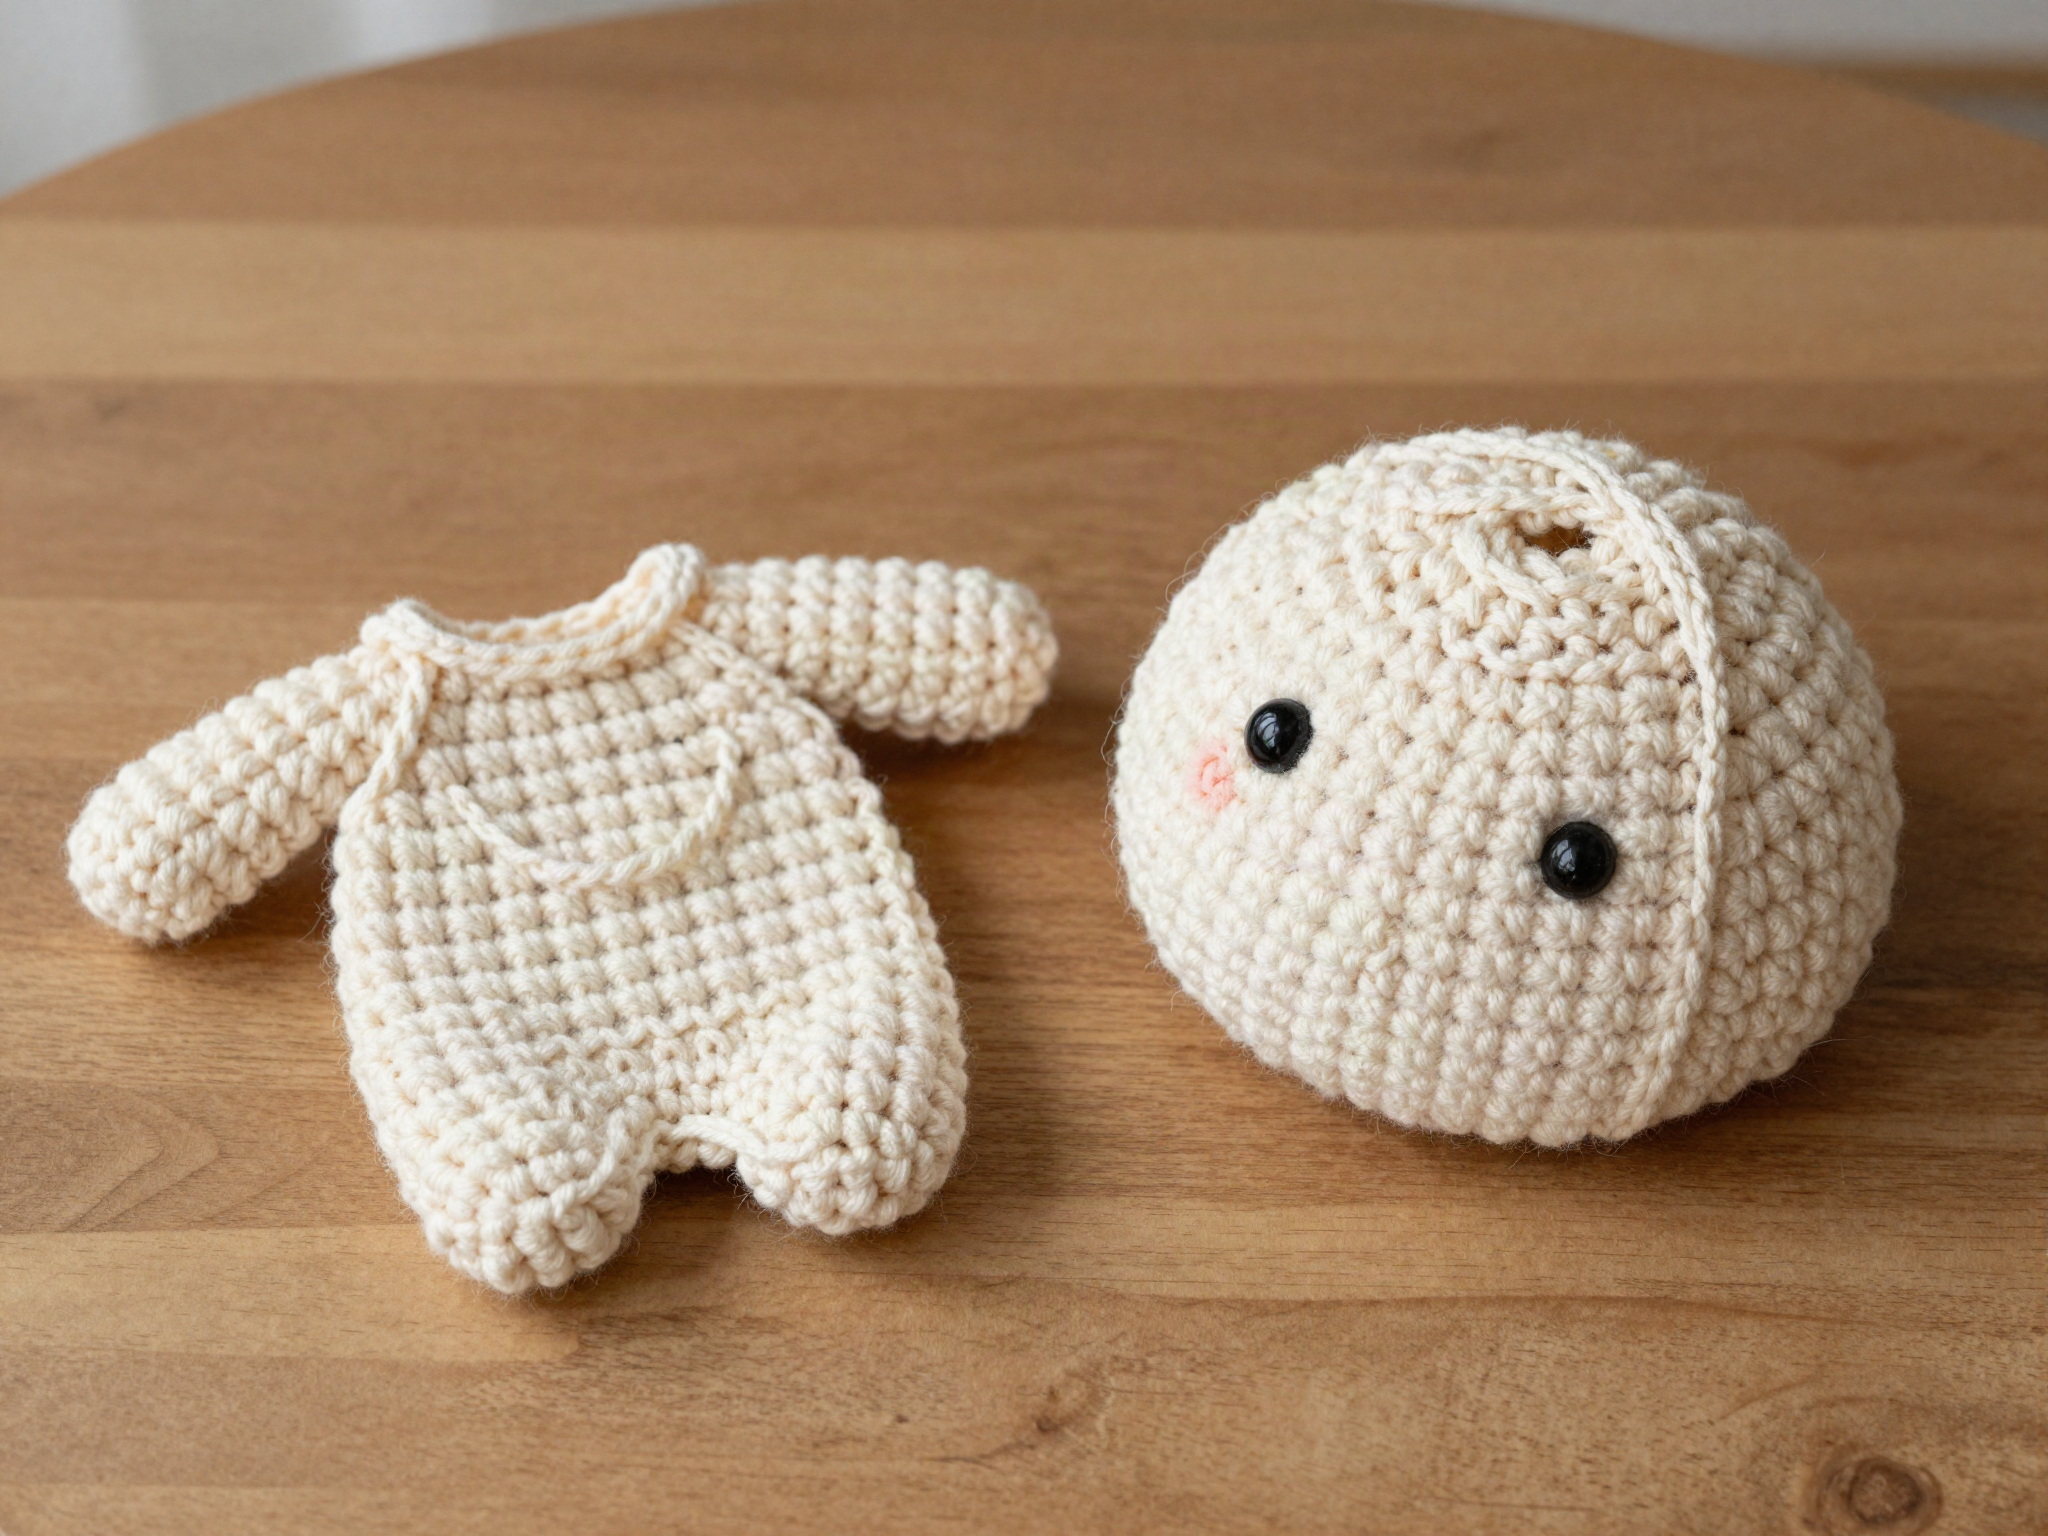
Crochet the body
Work the body as a slightly larger sphere or oval, following the same increase-even-decrease structure.
- 3
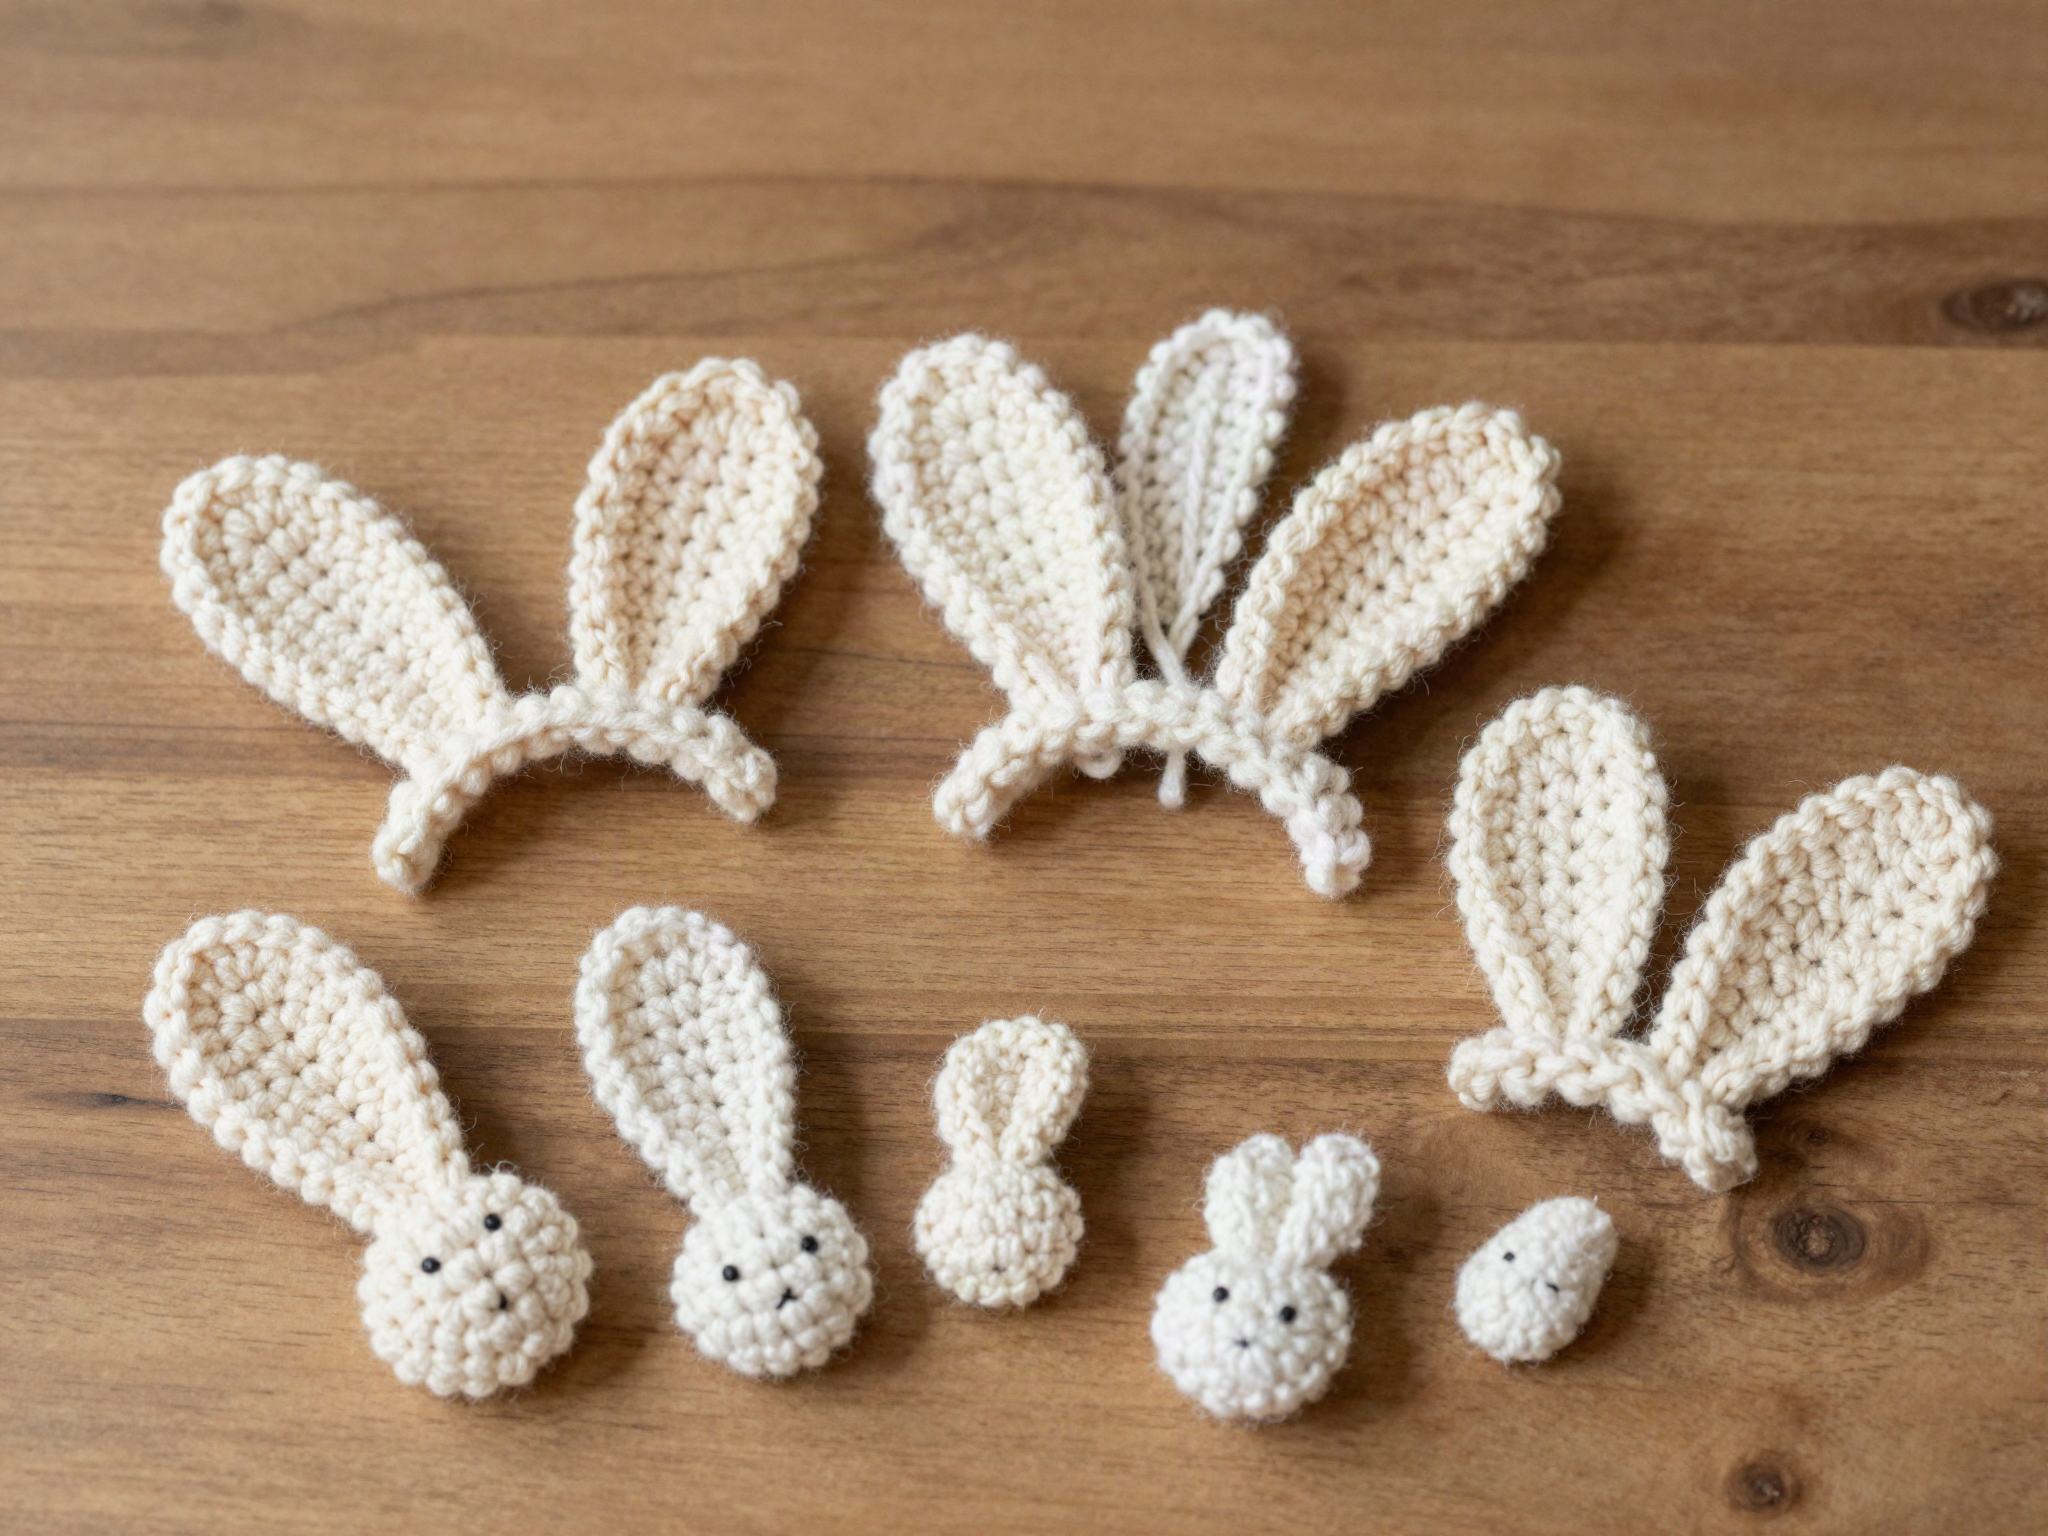
Crochet the ears, arms and legs
Make two ears (flat ovals folded in half), two arms and two legs as small cylinders, stuffing lightly.
- 4
Assemble
Sew the head to the body, then attach ears, arms and legs, positioning safety eyes before final stuffing of the head.
Tip: Pin all pieces in place first and step back to check proportions before sewing anything permanently.
- 5
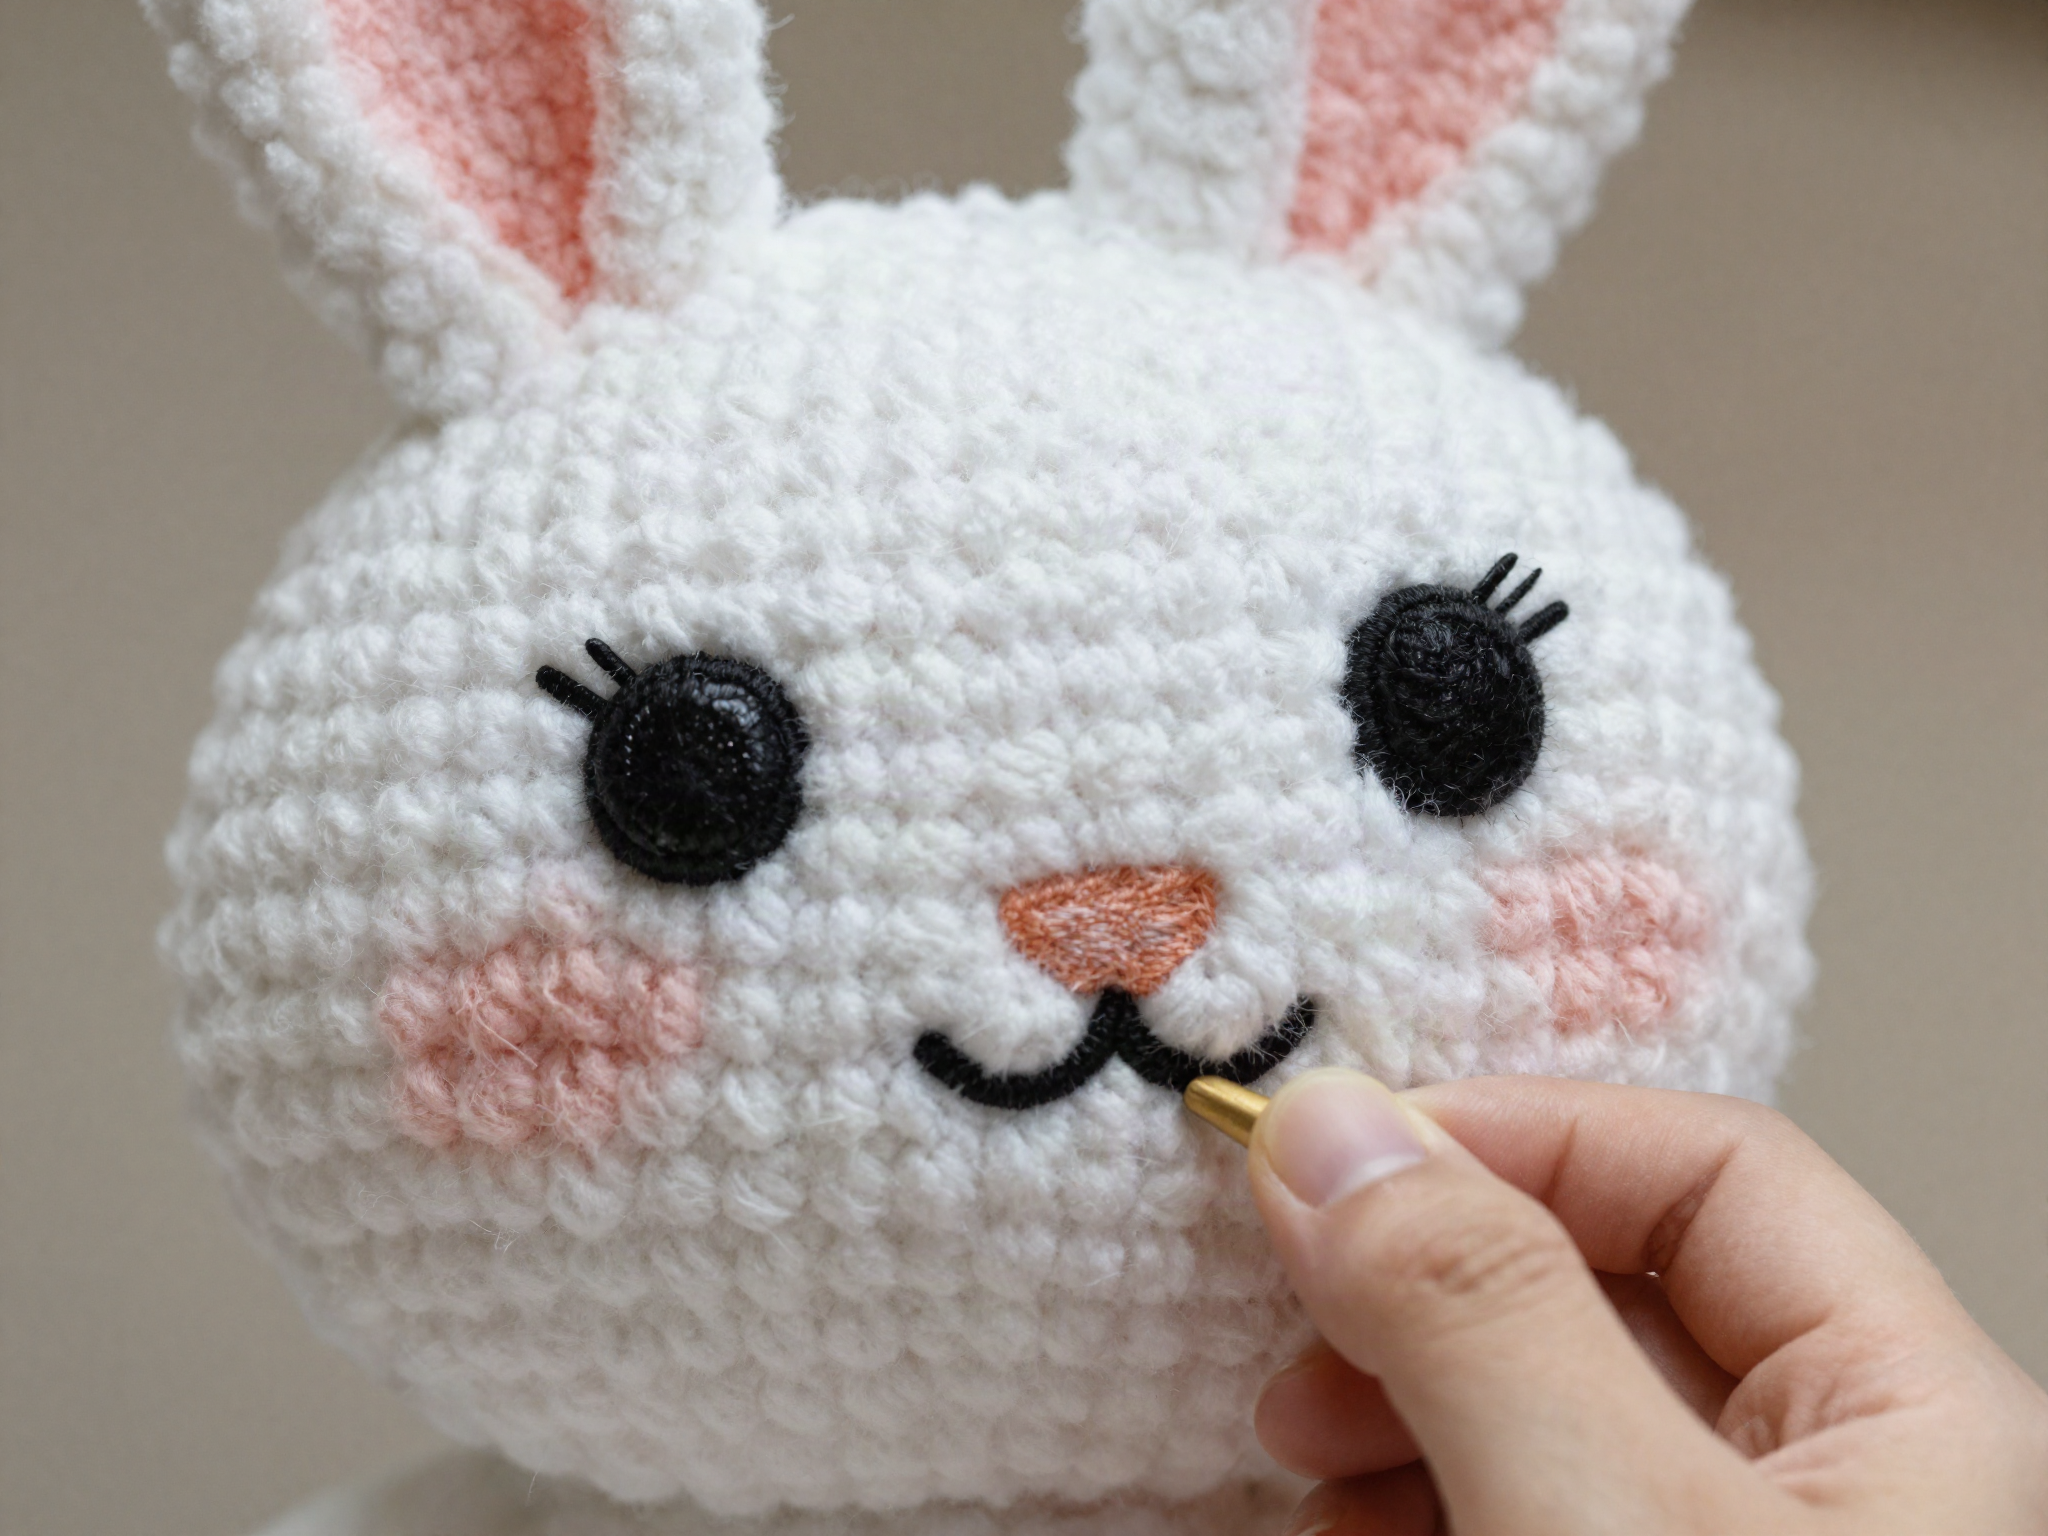
Add the face
Embroider a nose and mouth with a few simple stitches, and add cheek color with a bit of blush yarn or fabric marker.
Helpful Tips
- Use a hook one or two sizes smaller than the yarn label recommends — tight stitches keep stuffing from showing through.
- For gifts to children under 3, embroider the eyes instead of using safety eyes.
Related Projects
 Premium
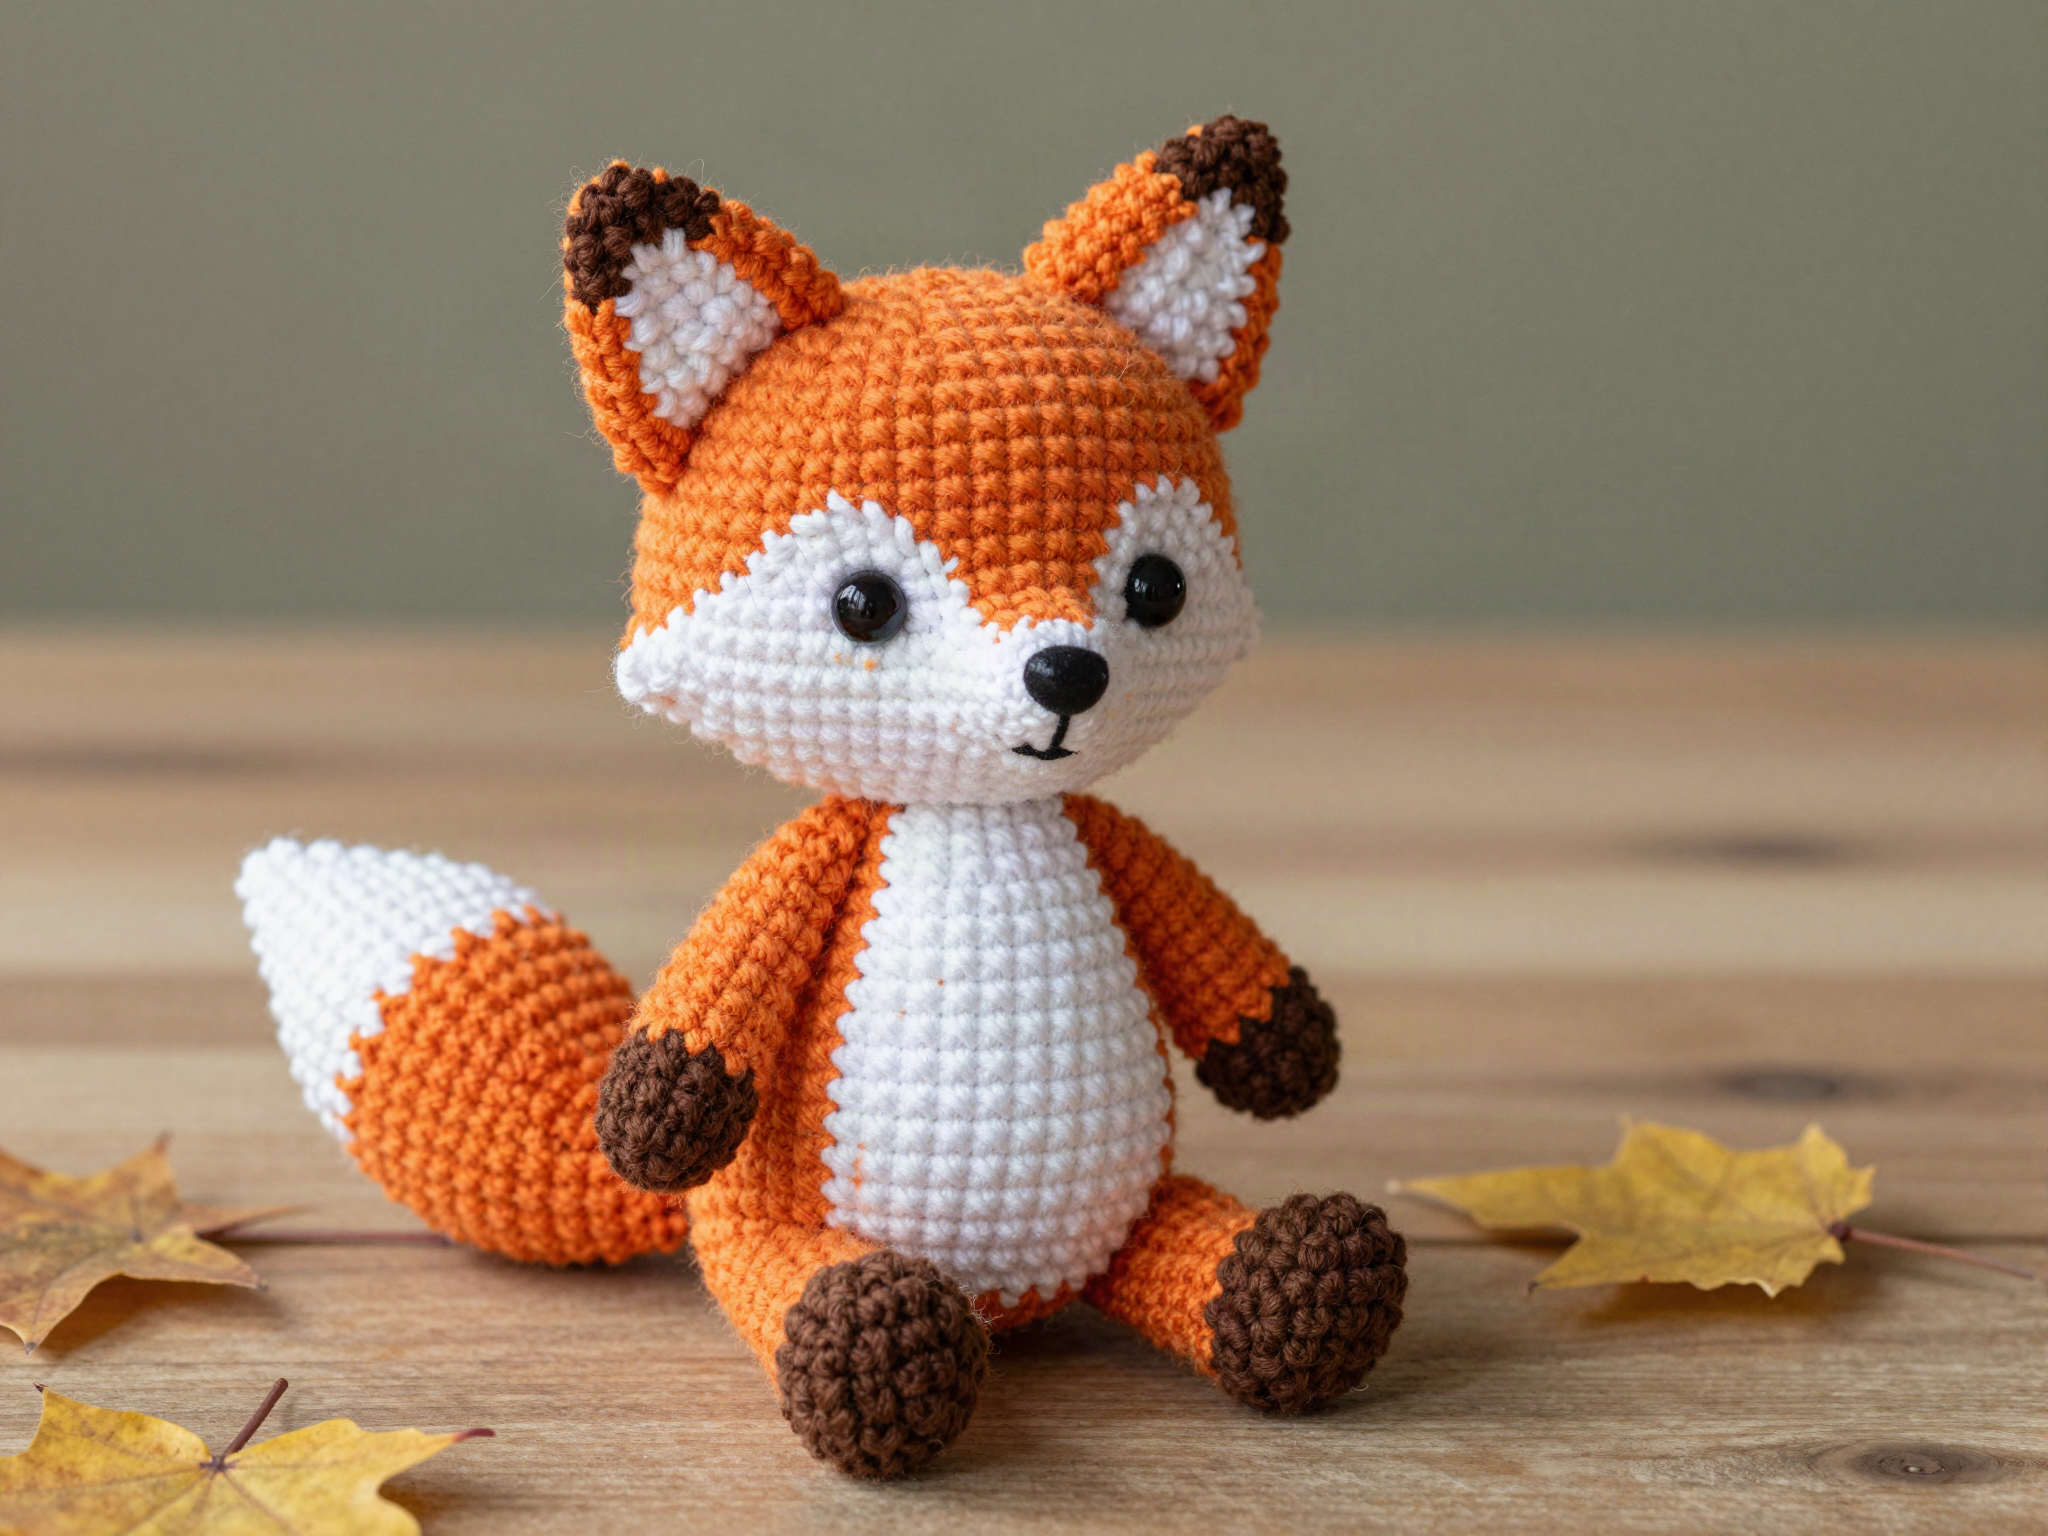
Amigurumi Fox
A perky amigurumi fox with two-tone shaping and a fluffy tail.
 Free
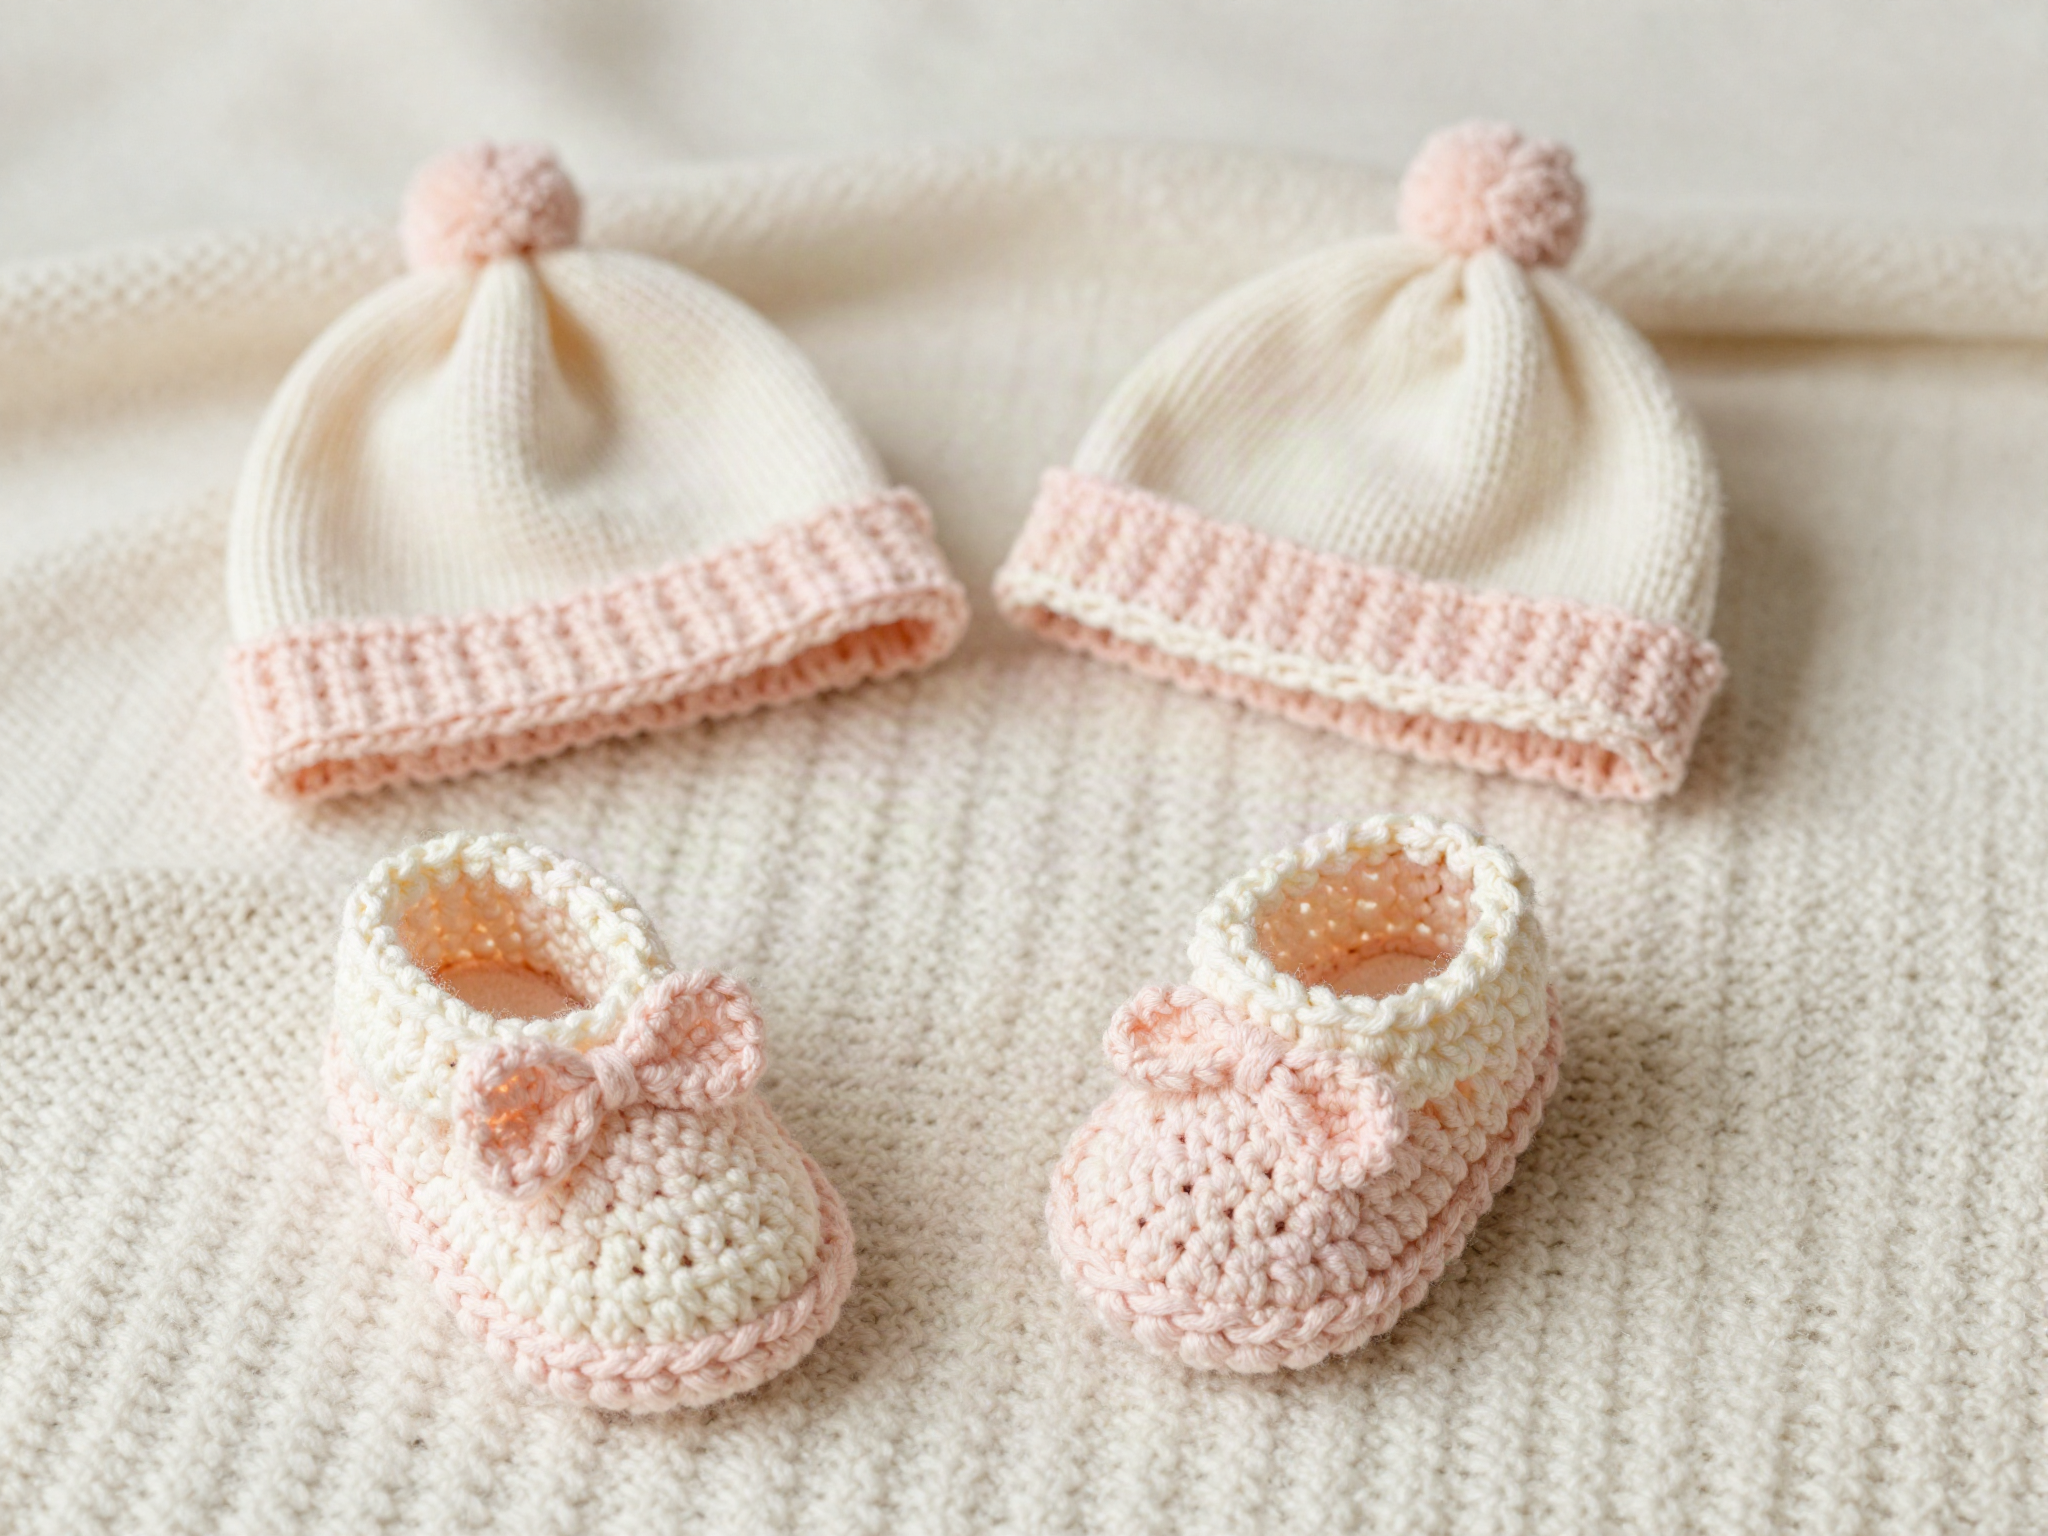
FreeBaby Booties & Hat Set
A matching newborn booties and hat set in soft, machine-washable yarn.
 Free
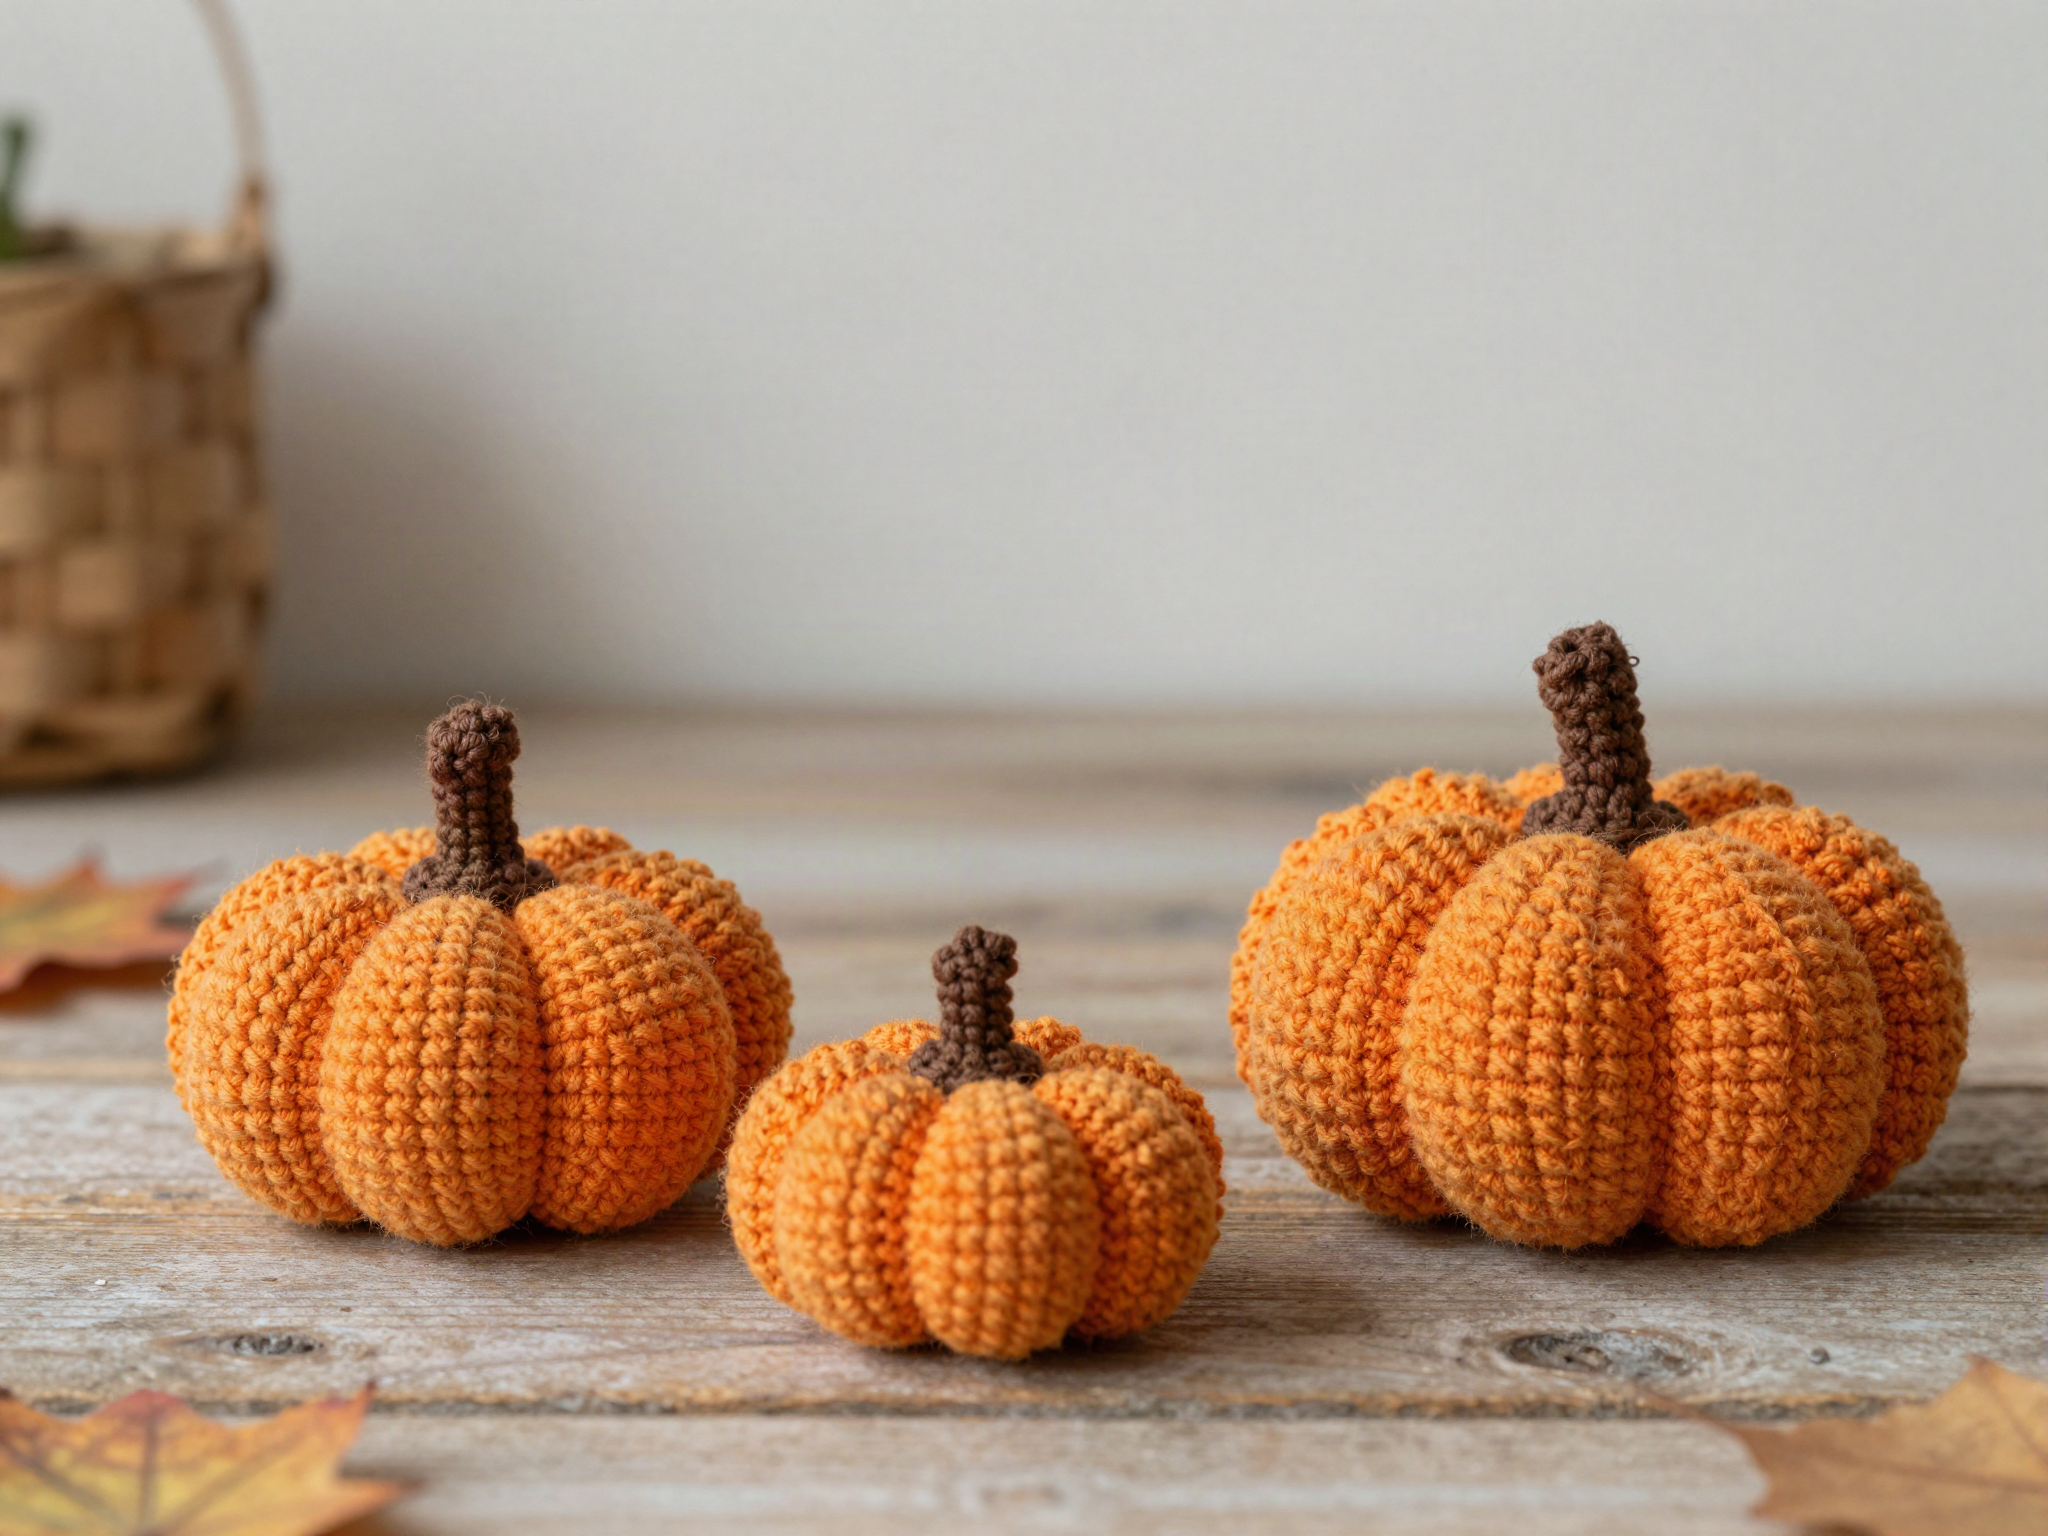
FreeAmigurumi Pumpkin Trio
Three stacked, stuffed crochet pumpkins in graduated sizes for autumn decor.